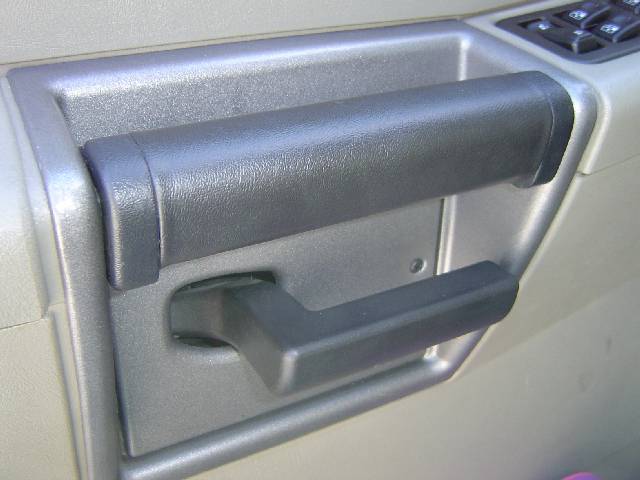
Photo 1
The first photo shows the screw to take out to remove the shroud around the inside door handle.
This would be a good time to get a little tray to hold your screws and other hardware so you don't lose them.
Note: This tutorial uses photos from two different installations so there may be some differences in door panel color etc.
 1
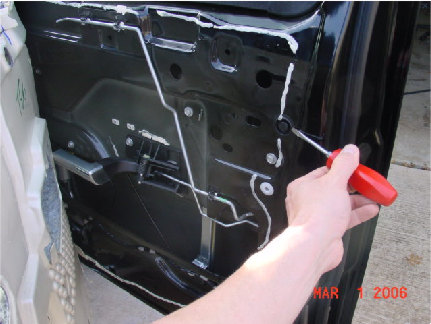
1 Photo 2
Remove the two small bolts shown here above the door handle.
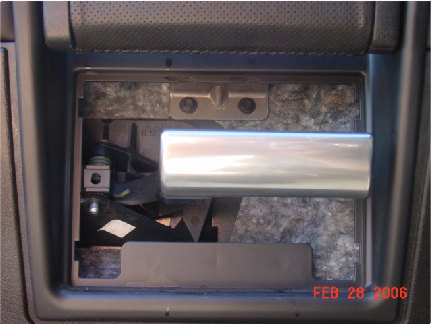 2
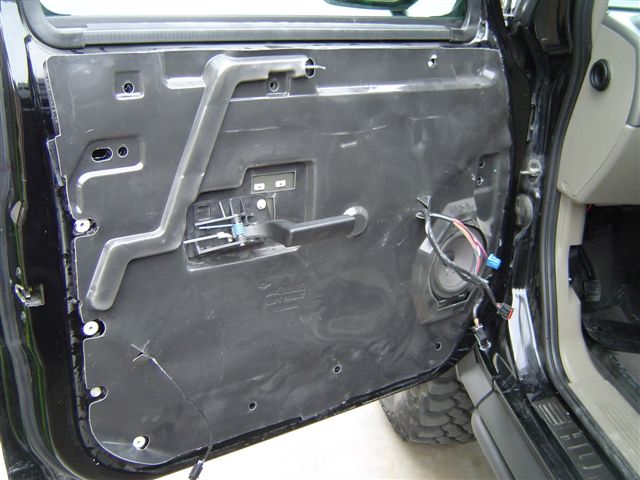
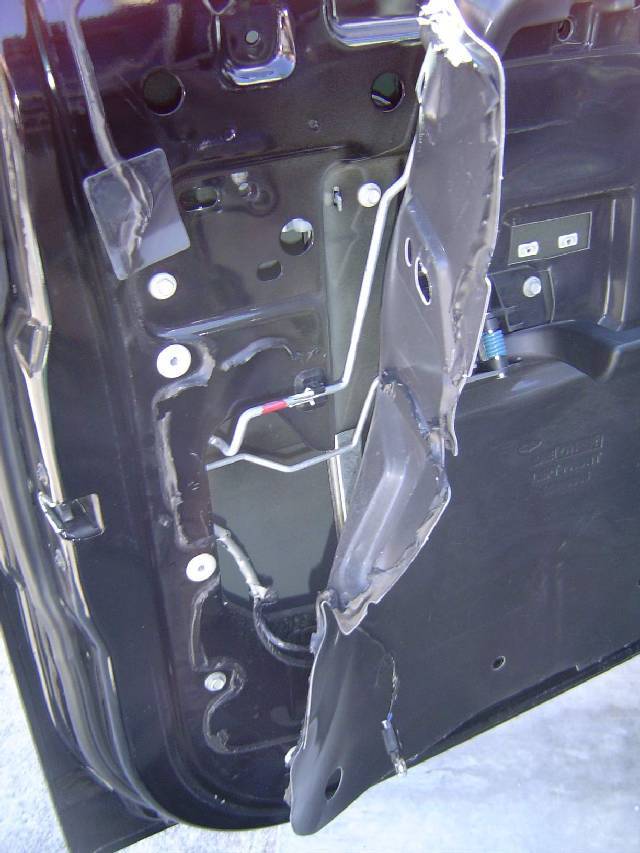
2 Photo 3
This photo shows the door panel already off the door. Notice the white snap clip holders in several locations on this picture. These are the locations of the snap in clips on the door panel.
Work from the outside bottom corner and pry the panel away from the door slightly. You should see the snap clip on the corner. Using a door panel tool, or a screwdriver with a small block for leverage, the clips will pop out when pulled straight back away from the door. Work around the door perimeter and pull all the clips out so the panel comes loose.
The panel can now be pulled away far enough to disconnect the wires to the switches and the door courtesy lamp. Note which wires go to which holes for re-assembly. The manual door lock rod will also need to be disconnected.
If you use a screwdriver, wrap the tip in tape to help prevent any scratches on the door metal.
 3
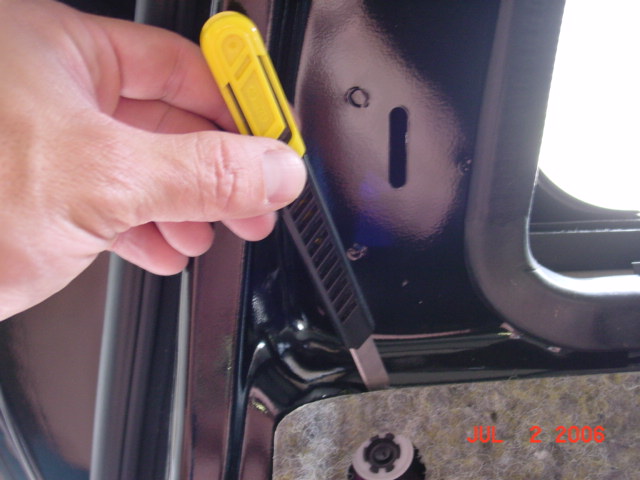
3 Photo 4
With door panel removed, you can peel back the splash guard by using a razor knife to trim away sealant that holds the splash guard to the door.
 4
4 Photo 5
You can remove the splash guard completely, but it may be easier to just peel it back enough to gain access to the inner door components.
 5
5 Photo 6
In this photo, the screwdriver is pointing at a plastic plug that needs to be removed. (Passenger side shown here.)
This will allow access to the rear nut on the handle.
 6
6
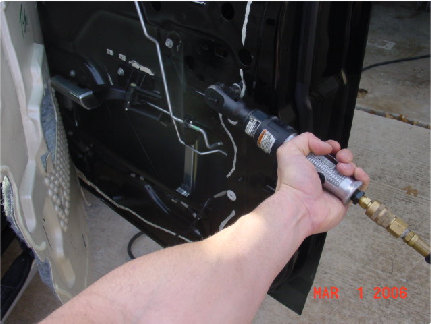
Photo 7
Remove the upper bolt holding the window support rail in place. This is necessary to gain access to the rear nut on the handle.
Passenger side shown here.
 7
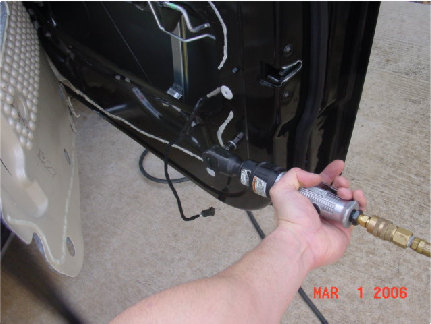
7 Photo 8
Remove the lower bolt holding the window support rail in place. With these two bolts out, you should be able to remove the rail to get at the rear handle nut.
Next, remove two handle nuts on the backside of the door handle. The next photo down shows which nuts to remove.
 8
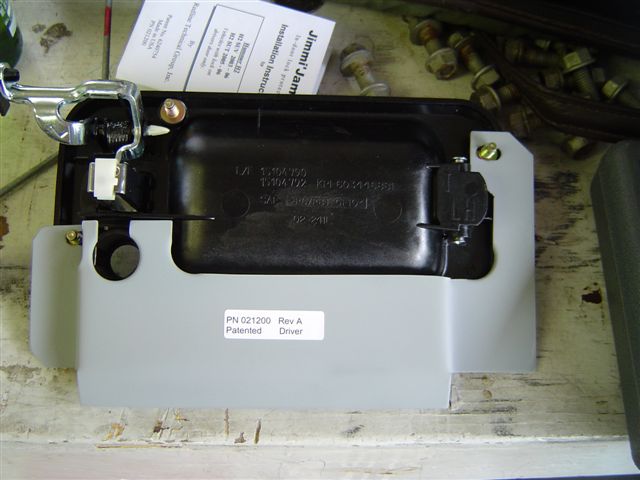
8Photo 9
Here is how the plate should fit on your door handle (driver side shown). The handle does not need to be removed from the door, it is shown on the bench here for clarity.
Remove the nut near the lock cylinder, lower left and on the upper right corner in this photo.
The cutout on the plate near the left here goes up over the back of the lock cylinder and provides support to prevent the lock from being smashed into the door. To get the plate on, you may need to take the lock pawl off the lock, as described in the next step.
 9
9Photo 10
Remove the lock pawl from the back of the lock cylinder. To do this, use a small flat screwdriver to slide the retaining clip so that it can be slipped off the lock.
This photo shows the lock pawl (black piece) with the pink rod clip and lock rod still attached. You can disconnect the lock rod at the pawl by swinging the pink clip lower part away from the rod, then pulling the rod straight out from the pawl. Then the rod can stay in the door.
The snap clip is shown below the pawl.
 10
10 Now the plate can be installed onto the back of the handle. Once in place, re-install and tighten the nuts in place. It is best to use a drop of loc-tite on the nuts to prevent them from loosening later.
Once the plate is in place, snug down the handle nuts and test the movement of the lock mechanism using the key and/or the key fob. Test everything before putting the panel back on completely.
Reverse the order of disassembly to put the door back together.
This completes the installation process. You can now do the other door!
See photo 9 above for view of how plate fits on handle.

All images and descriptions
©Redline Technical Group, Inc.
1998-current